One of the things that I do most often in Silhouette Studio is to make an offset. Lately I have been printing-and-cutting with graphics a lot. Because these files do not come with a cutting path, I have to make a trace before I can make an offset. If you are new to my blog (
WELCOME!!!) or to the Silhouette Studio program, you may be wondering what all these terms mean. Perhaps this illustration will help:
A graphic can come in several formats like .jpg or .png and a graphic has no cutting path. In other words, if I should send it to the cutter, it wouldn't be able to cut the image out because there are no cutting lines. In order to get the cut lines, we will have to make a trace and it is from that trace that we can get an offset so as to get, what I call the "Sticker Look".
I make offsets in almost all of my print-and-cut projects. An example would be my
Slumber Party Stickers and the
Halloween Note Cards.
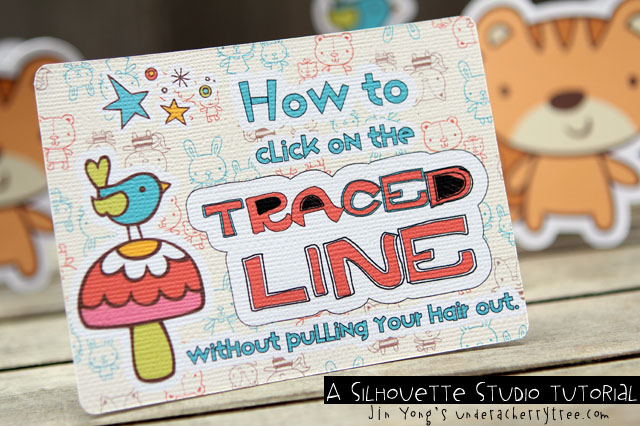
Now let’s get on with the tutorial:
The squirrel image that I am using is a graphic from the
Nancy Kubo Mommy & Me Graphic set. Since it came in the PNG format, I have to make a trace in order to get its cutting path.
 |
| How to trace a graphic image. - Click on "Trace Outer Edge" |
Once I have a trace, I will be able to make an offset. Now, here comes the tricky part: Because there isn't a Layers menu in Silhouette Studio, it can be challenging to tell which layer is being selected. One way of figuring that out is by reading the dimensions. Since the graphic and its traced lines have different sizes, I know that I have clicked on the traced line when the dimensions change. However it can be tricky trying to find the magic spot that will select the trace line instead of the graphic.
There is another method of selecting the Traced Line. It is much easier in that there is no guesswork or trial and error involved.
Step 1: Right-Click on the graphic and Copy. Delete the graphic.
DO NOT move or change the position of the traced line until the graphic has been returned (as shown later in the tutorial).
Step 2: Click on the Traced Line and make the Offset.
After you have made the Offset, if you don’t intend to have the cutter cut on the traced line, you can delete that away or set it to No Cut.
Step 3: Right-Click and select Paste-in-Front to bring back the graphic.
That’s it!
TA-DA!!
That was so much easier than clicking randomly and trying to find the "magic spot", wasn't it? For those of you who prefer to see this in action,
CLICK HERE for the video tutorial.
Hope that today's tutorial saved you some time and frustration from trying to click on the Traced Line to make an offset.
Have fun cutting! :-)


